On typical graffiti, simply flood coat three times (at roughly 3-minute intervals), wait another few minutes then rinse with a small pressure washer.
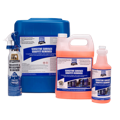
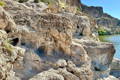
]]>For graffiti on porous bricks, block walls and stone, use our Bare Brick, Stone & Masonry Graffiti Remover (BBSM).
On typical graffiti, simply flood coat three times (at roughly 3-minute intervals), wait another few minutes then rinse with a small pressure washer.
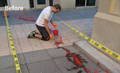
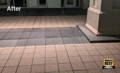
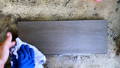
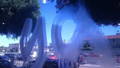
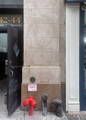
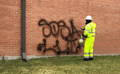
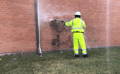
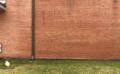
NYC Power Wash rinses spray paint away after flood coating with BBSM.
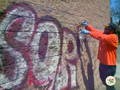
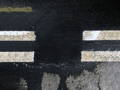
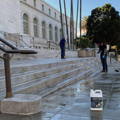
Flood Coat Bare Brick, Stone & Masonry Graffiti Remover & Let Dwell
Rinse
Done
Agitation as you apply this product can be of great assistance. Continued experience with the product will enable the user to judge how many applications are necessary for varying surfaces and particular spray paints. On older/thicker graffiti, patience is the key. Keep the graffiti wet with the product, as long as possible before rinsing.
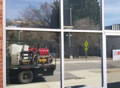
Courtesy of Klein Pressure Washing, TX
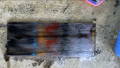
For some inks/dyes and some spray paints (especially reds), Feltpen Fadeout might be needed to achieve quick and perfect results.
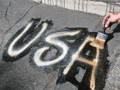
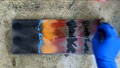
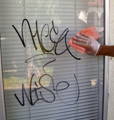
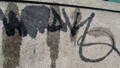
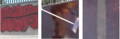
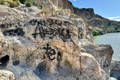
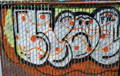
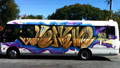
Red Spray Can Bubble Writing
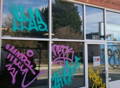
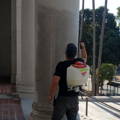
Brushing on 3 Coats of BBSM
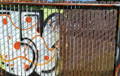
Feltpen Fadeout Brushed On
Read TDS sheets for more detailed instructions or Contact us for Expert Advice on your job before starting.
Note: depending on you situation Heritage or Vanish may be used instead of Bare Brick, Stone & Masonry Remover.
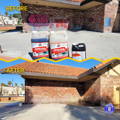
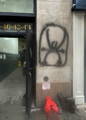
Bare Brick, Stone & Masonry Graffiti Remover & Feltpen Fadeout: Removing Graffiti from Brick Building. Courtesy of Junk Busters.
3 Golden Rules
1) If graffiti is not coming off easily, you're doing it wrong. You may require a change of tact or use of another product.
2) If you can't remove a little bit of graffiti, then you're not going remove a lot. TEST FIRST before applying product to an entire job. This way you can determine if you’re on the right track before embarking on full scale removals.
3) If you're working hard, you're doing it wrong. Forget the scrubbing, blasting and any other abrasive measures. Put simply, either your products are working or they’re not. Any problems can be taken care of with the right technique.
Expert Advice
Click on any of the icons below for more how-to's and advice
-

Graffiti
Removal -

Surface
Protection -

Environmental
& Safety -

Equipment